Importing Sprites into Unity
Import, set options, slice sheets, choose PPU, pack atlases.
Unity 6000.x (2025)
Importer
Sprite type, point filter, compression
Show
Slice sheet
Grid by cell size and naming
Show
PPU (advanced)
Match tiles or character height
Show
Quick settings
- Texture Type: Sprite (2D and UI)
- Sprite Mode: Single or Multiple
- Filter Mode: Point
- Compression: None (try Low, compare visually)
- MipMaps: Disabled; Wrap: Clamp for characters
- Packing: Sprite Atlas
1
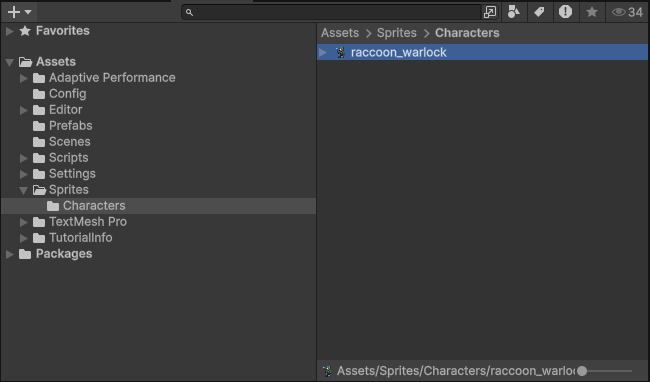
Import the PNG
Drag into Project. Select to open the Texture Importer.
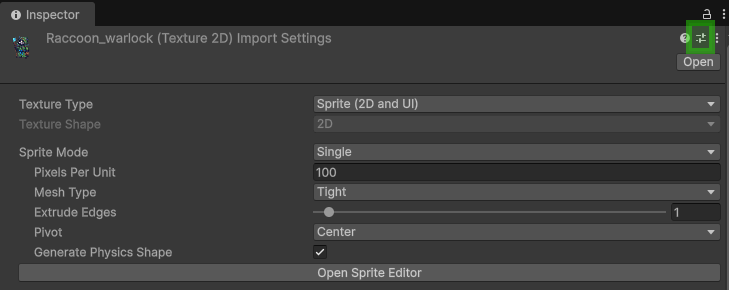
2
Set importer
- Texture Type: Sprite (2D and UI).
- Sprite Mode: Single or Multiple.
- Pixels Per Unit: pick target (see PPU).
- Filter Mode: Point. Aniso: Disabled.
- Compression: None or test Low.
- MipMaps: Disabled. Wrap: Clamp for characters; Repeat for tiles.
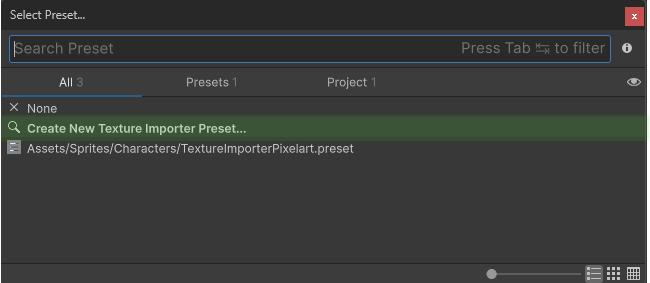
Download Import Preset
Get our pre-configured Unity import settings for pixel art. Just drag the .preset file into your Unity project and apply it to your sprites.
Unity 6000.2
3
If you have multiple sprites in one image
4
PPU (advanced)
5
Pack with Sprite Atlas
- Create Sprite Atlas: Create ▸ 2D ▸ Sprite Atlas
- Add sprites or folders. Group by domain.
- Select Tight or Rectangle based on shaders.
- Play Mode builds atlases automatically.
6
Save an import preset
Importer cog → Save as Preset. Name it PixelArt_Import. Apply to new textures.
Generate sprites the easy way
Create consistent pixel art with SpriteCook. Themes, references, and presets out of the box.
 Try SpriteCook