How to Animate a Custom Pixel Art Sprite
Turn any sprite into a custom motion. Works for characters, props, and environment pieces.
If you want a full character pack in one go (idle, walk, run, jump, attack), use /characters. That flow is built for it.
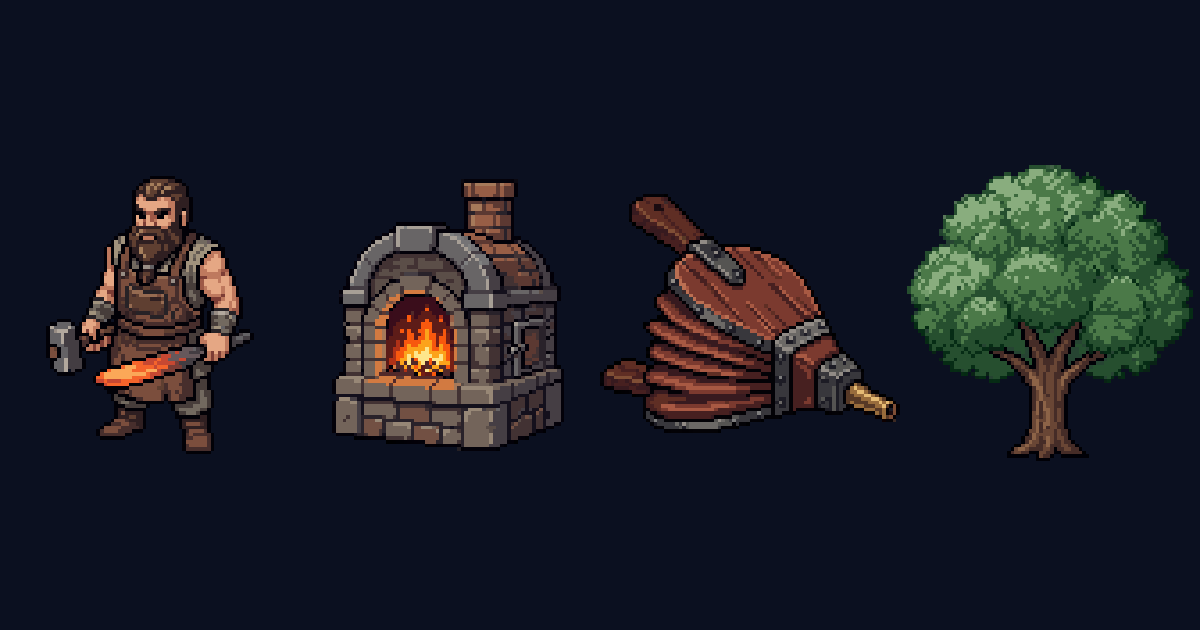
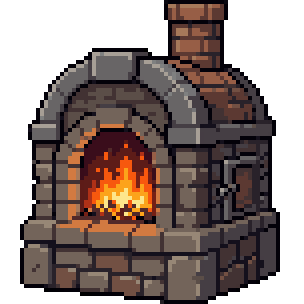
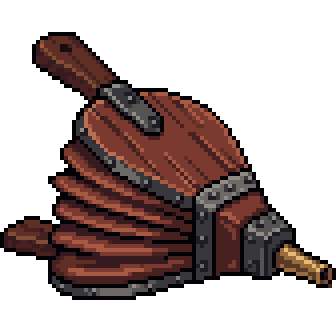
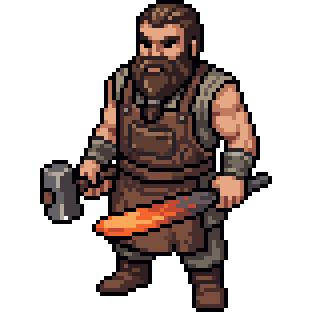
This post is about the other case. You have one sprite and you want one specific motion. A tree swaying. A furnace glowing. A chest opening. A campfire flickering. Could be a character, could be a prop, could be a background piece.
Here's what the final result looks like:

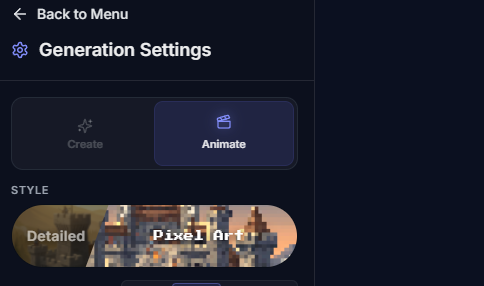
Step 1: Switch to the Animate tab
In the Generation Settings panel on the right, flip the top toggle to Animate. That's the mode this whole post is about.
Step 2: Pick the sprite you want to animate
Open your Assets, hover a sprite, and click Animate.
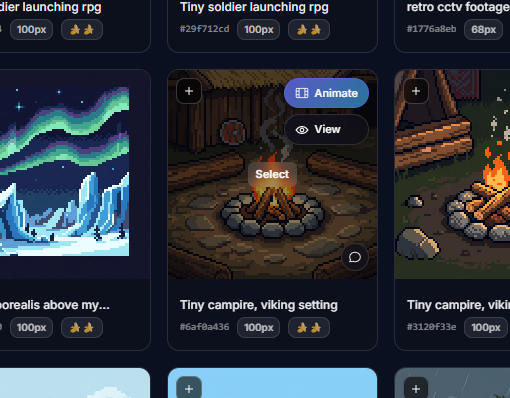
If you don't have a sprite yet, make one in /create first (there's a full walkthrough here). 64x64 is the sweet spot and what we'd recommend starting with.
The full technical limits, if you care: pixel art only, 256x256 or smaller, aspect ratio between 128x256 and 256x128.
Step 3: Check the sidebar settings
A few things worth knowing in the rest of that panel:
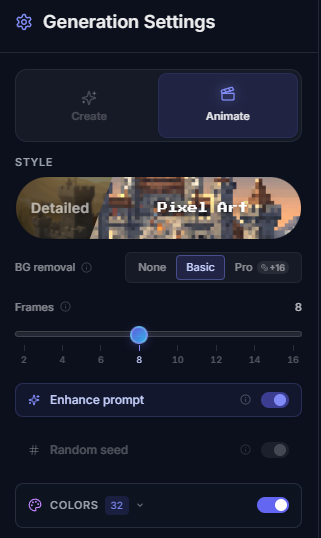
- Style should stay on
Pixel Artfor this flow. - BG removal.
Nonekeeps the background,Basicis the standard cleanup,Prouses stronger AI removal for cleaner edges (costs a bit more). - Frames. Default is 8. Bump it up for smoother motion, drop it for chunkier animation.
- Enhance prompt. Leave this on. More on why below.
- Colors controls the palette size on the output.
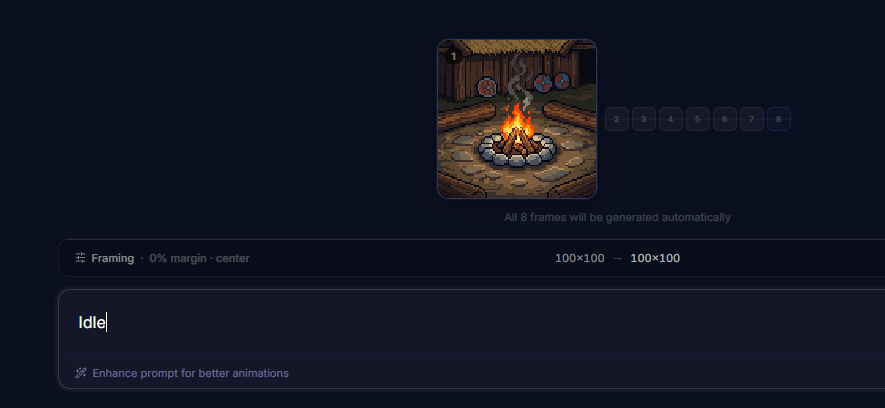
Step 4: Describe the motion
Short prompts work fine when Enhance prompt is on. Type something like Idle and the enhancer fills in the detail for you.
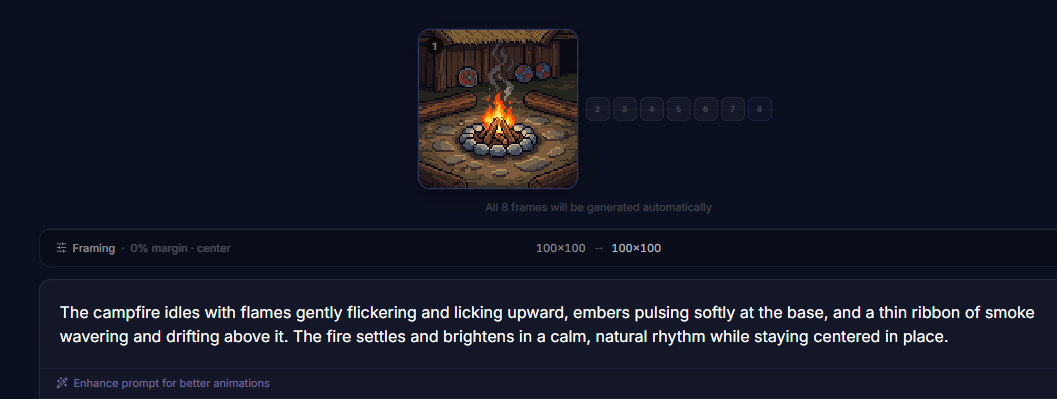
Hit the enhance button and it expands to something the model can actually work with:
Short prompts that tend to work well (with Auto Enhance on!):
- "tree sways gently in the wind"
- "furnace flame flickers and breathes"
- "chest opens slowly"
- "mage raises staff and releases a burst"
Step 5: Run it
Hit generate and give it a minute. Result drops into your assets.
If the motion feels stiff or too fast, revisit the frame count first. That's usually the fix.
When to use /animate vs /characters
Simple rule. Full character pack, use /characters. One custom motion, use /animate.
/animate is the right call for props, environment pieces, UI-like elements, and one-off character motions the character flow doesn't cover.
One thing to keep in mind. The base sprite's perspective is what the animation inherits. Front-facing sprite stays front-facing. Top-down stays top-down. The animation won't rotate the view for you.
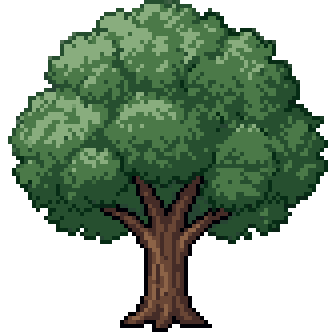
A few examples
Simple idles made with /animate:
Try it on a sprite you already have in your assets. Pick one, hit Animate, type Idle, done. For the full picture, the pixel art animation generator page walks through every motion and export.