From Prompt to Animated Character, Step by Step
How to take a character from a one-line prompt to a full animation set, step by step.
One prompt in, a full animation set out. Here's the flow in /characters.
What you need
A SpriteCook account. That's it.
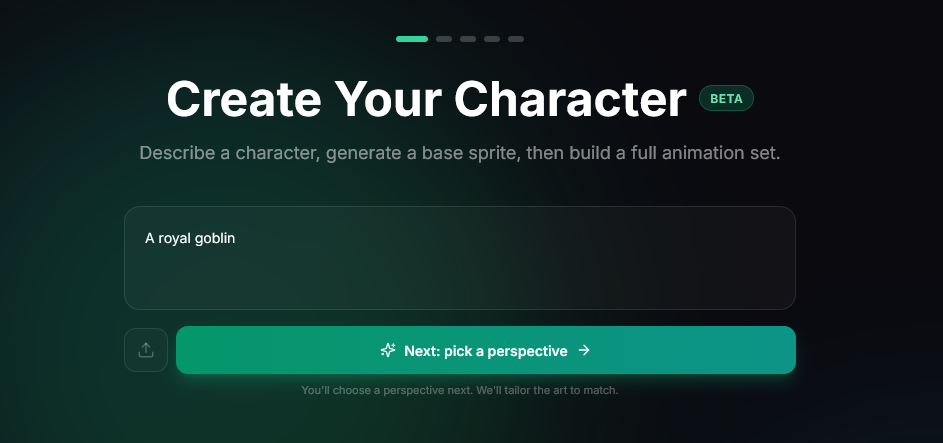
Step 1: Write a prompt
Head to the Character Creator. Short prompts work best. A few that land cleanly:
- A forest ranger hero
- A cyberpunk swordswoman
- A tiny druid with a staff
Step 2: Pick a perspective
Pick the view you're building for.


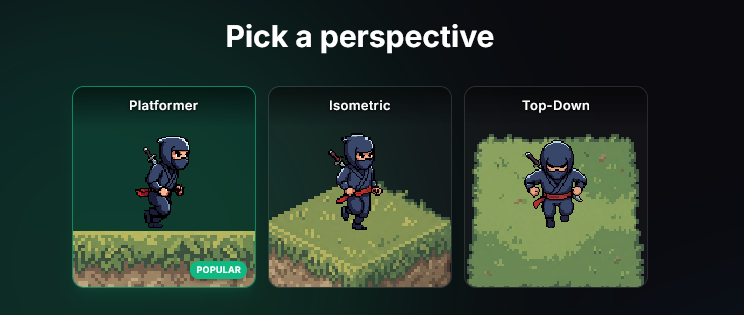
Pick the one that matches your game. Switching later means redoing the character, so get this right up front.
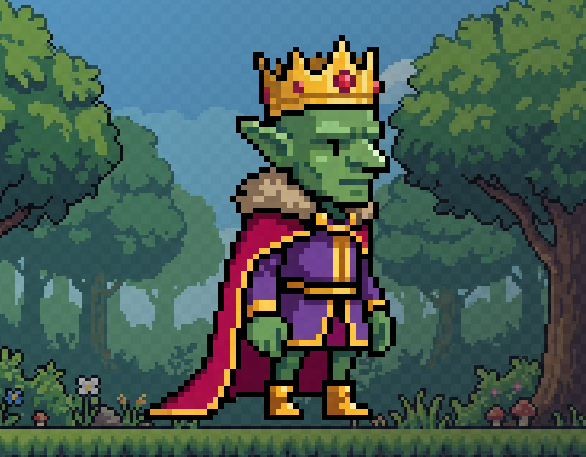
Step 3: Review and revise
You'll get a larger preview and a revision panel. Keep the current sprite and ask for changes like heavier armor, round shield, colder palette, or cleaner silhouette.
Step 4: Pick an animation set
Each perspective comes with a default motion group. Toggle extras on or off. The credit cost shows before you generate, so you can start small for a prototype.

Step 5: Generate and export
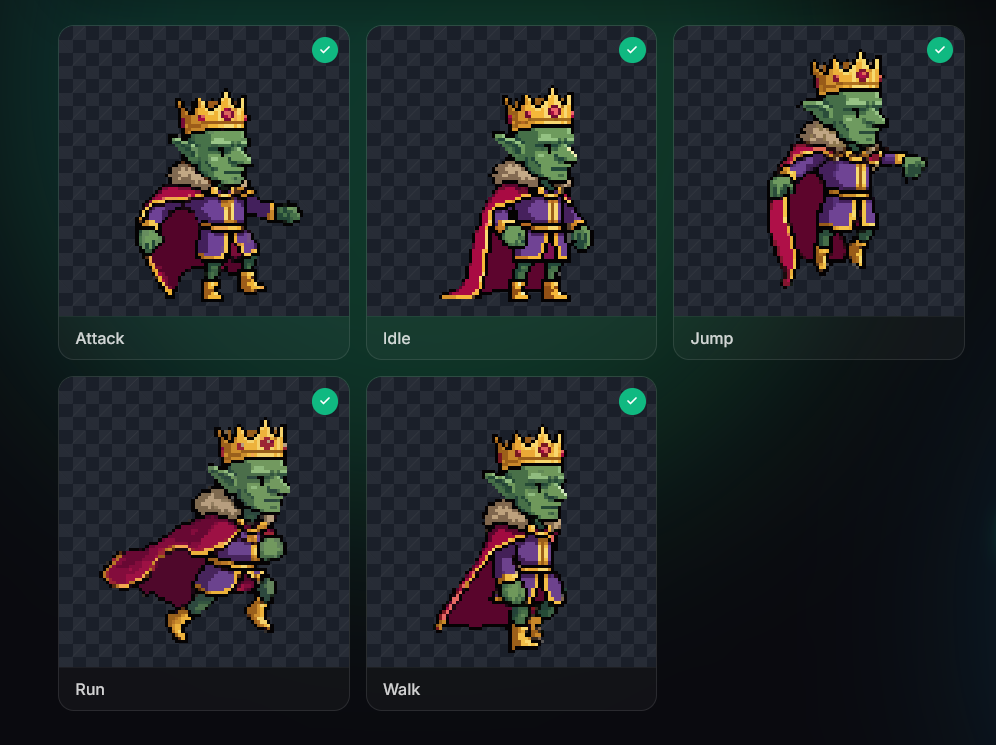
Motions come in one card at a time. Preview at true size, then export when the set looks right.
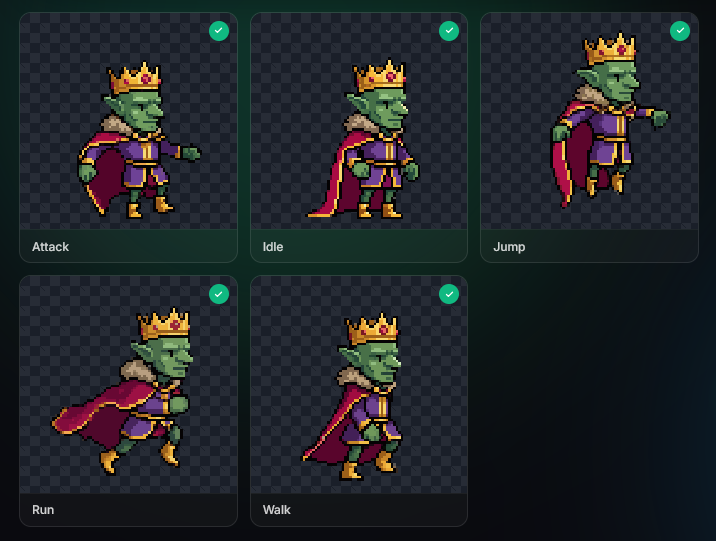
Here's the finished character cycling through idle, walk, run, jump, and attack:


Going smaller
Making 16x16 or 32x32 sprites has its own tricks (checkerboard reference, Nano Banana Pro). The tiny pixel art guide covers that.
Open /characters and give it a go. Stuck or want to share what you made? Hang out in the SpriteCook Discord.