Make a Tiled autotile tileset with AI and the Terrain Brush
Generate a tileset with AI, add the .tsx to your Tiled map, and paint with the Terrain Brush so the edges and corners pick themselves. Step by step with screenshots.
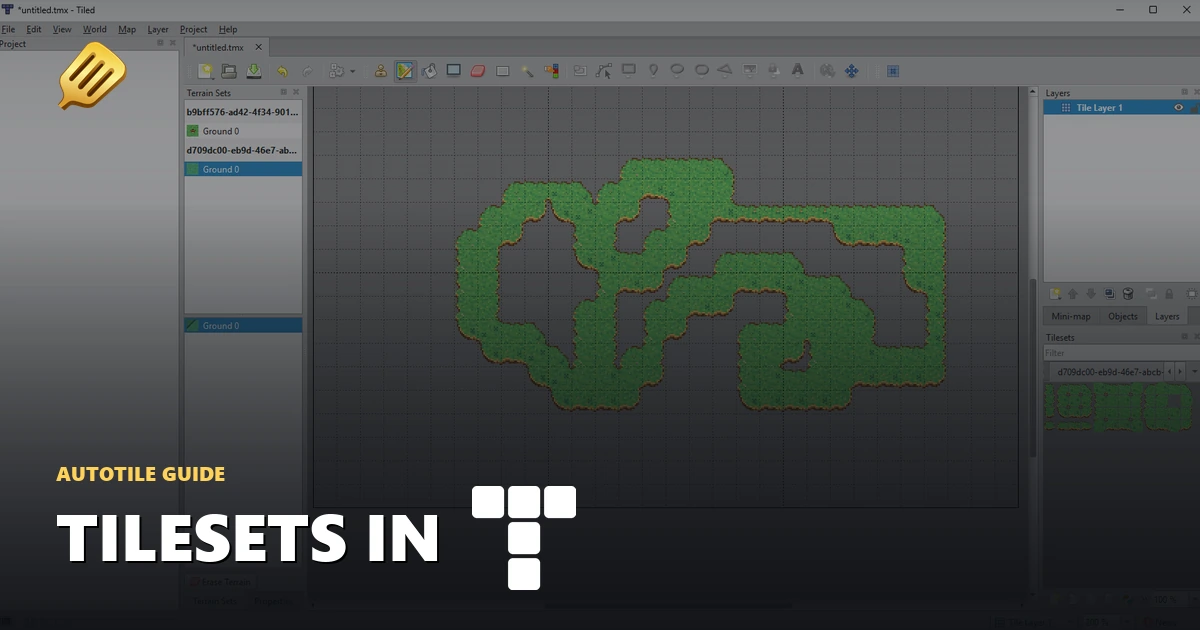
Once you've generated a 15-piece tileset, the Tiled export gives you a ZIP with the tilesheet and a .tsx that already has the terrain defined. Add it to a map, grab the Terrain Brush, and paint. Tiled picks the matching edge and corner tiles for you.
Here's the full path from export to painting.
Export the Tiled file
Open your tileset in the fullscreen viewer and hit Export. Set Engine file to Tiled and download the Tiled ZIP.
Unzip it. Inside is a SpriteCook folder with the PNG tilesheet and a .tsx tileset file. Keep them together.
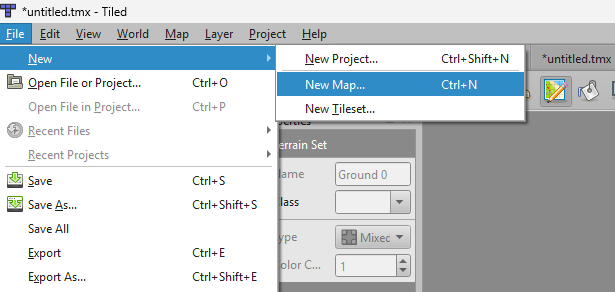
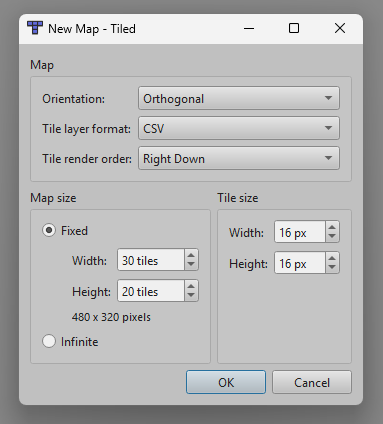
Create a map
Go to File > New > New Map.
Set the tile size to match your tileset (16px here), pick a map size, and hit OK.
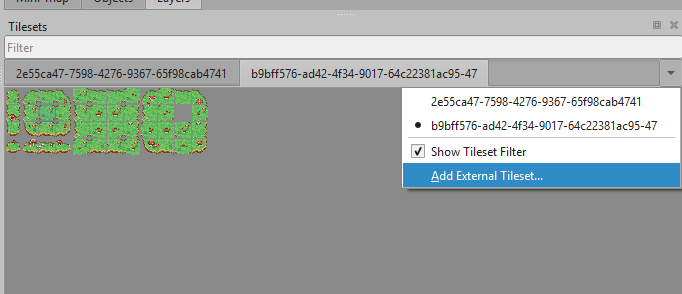
Add the tileset
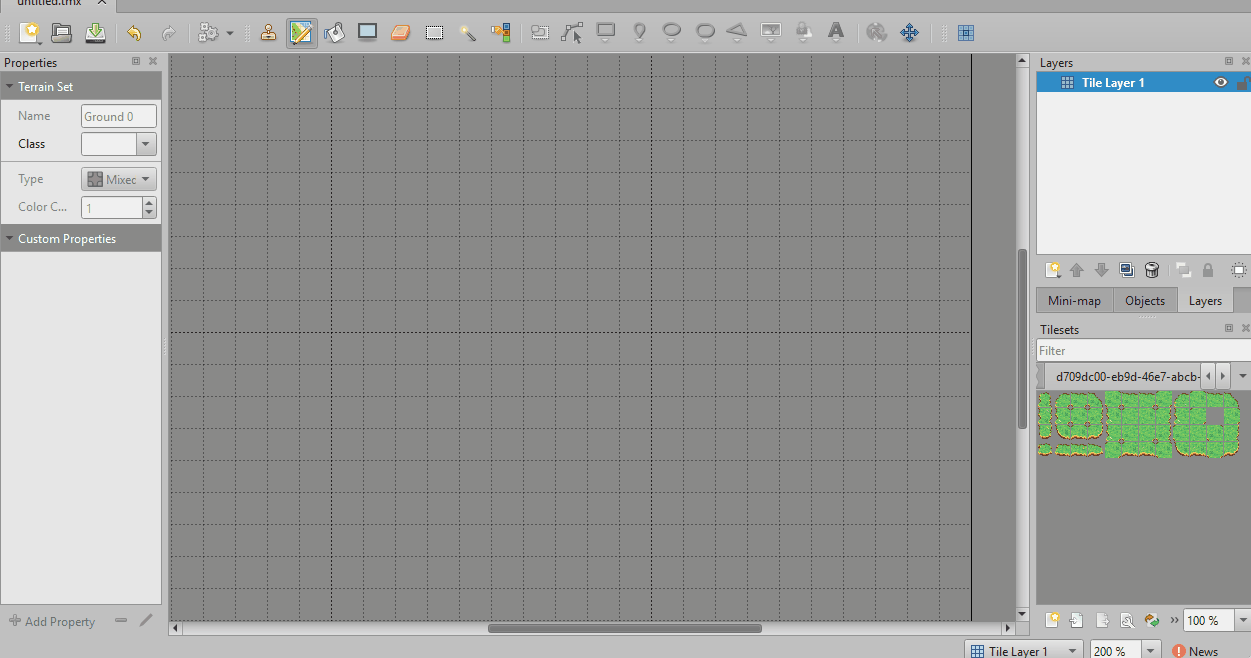
In the Tilesets panel, open the dropdown and choose Add External Tileset, then pick the .tsx from the unzipped SpriteCook folder.
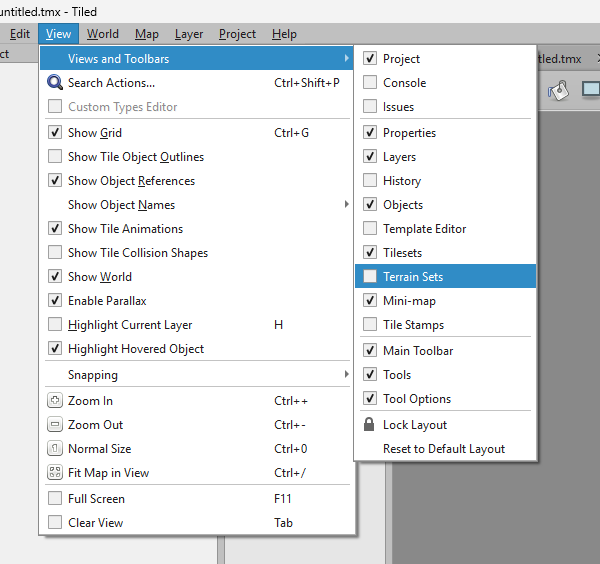
Turn on Terrain Sets
If the Terrain Sets panel is hidden, turn it on under View > Views and Toolbars > Terrain Sets.
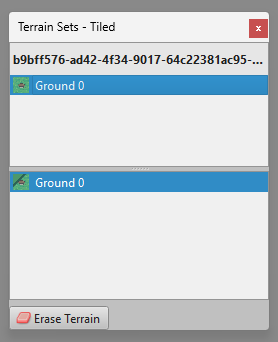
Paint with autotile
In the Terrain Sets panel, select Ground 0.
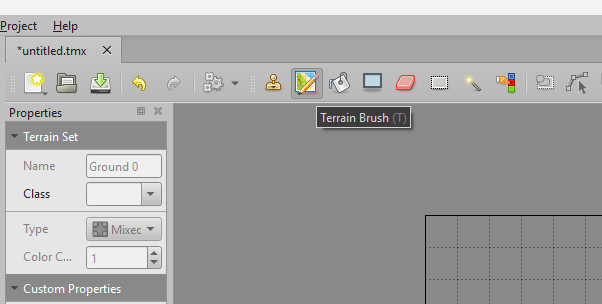
Grab the Terrain Brush (shortcut T) and paint on the map.
Once the first tiles are down, painting and erasing around the edges picks the matching transition tiles on its own.
If the brush won't place the first tile
On a completely empty map the Terrain Brush sometimes refuses to place that first patch. Hold Ctrl while painting to force it. Or place one full grass tile with the normal tile brush, then switch back to the Terrain Brush and carry on.
Try it
Generate a tileset in /create, export the Tiled file, and paint a map.