Make a Godot autotile tileset with AI and paint a map
Generate a tileset with AI, load the Godot .tres onto a TileMapLayer, and paint autotile terrain that picks its own edges and corners. Step by step with screenshots.
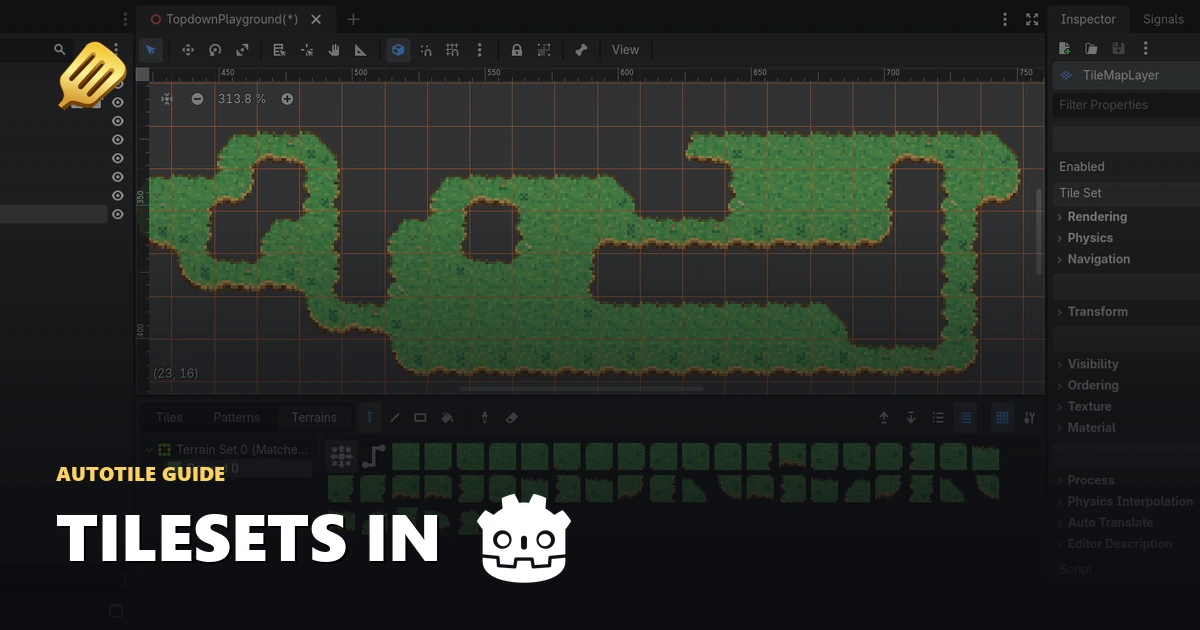
Once you've generated a 15-piece tileset, the export already knows about Godot. Pick the Godot file and you get a ZIP with the tilesheet and a .tres TileSet that has the terrain set up. Drop it in, load it onto a layer, and paint. Godot handles the edges and corners for you.
Here's the whole path from export to a map you can paint.
The screenshots below use a top-down 15-piece set. The same import-and-paint workflow also applies to expanded 17-piece sets and platformer 16-sets. Platformer exports use Godot's Match Sides terrain mode. Isometric exports register their atlas tiles in the .tres, but do not include a terrain set; place those tiles from the normal Tiles tab or configure terrain manually.
Export the Godot file
Open your tileset in the fullscreen viewer and hit Export. Set Engine file to Godot and download the Godot ZIP.
Unzip it. Inside is a SpriteCook folder with the PNG tilesheet and a .tres TileSet file. Copy the whole SpriteCook folder into your Godot project. Keep the .png and .tres together. The .tres points at the PNG by relative path, so splitting them up breaks the link.
Add a TileMapLayer node
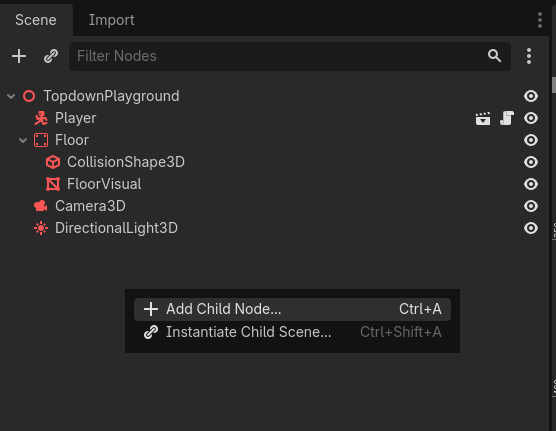
Right-click in the scene tree and choose Add Child Node.
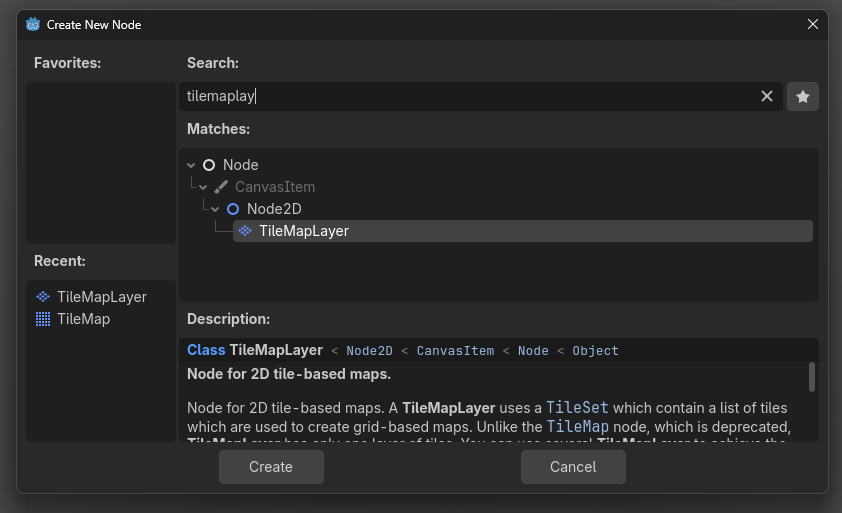
Search for TileMapLayer and create it. (The old TileMap node is deprecated, so go with TileMapLayer.)
Load the tileset onto the layer
With the TileMapLayer selected, open the Inspector and find the Tile Set property. Click the dropdown and choose Load.
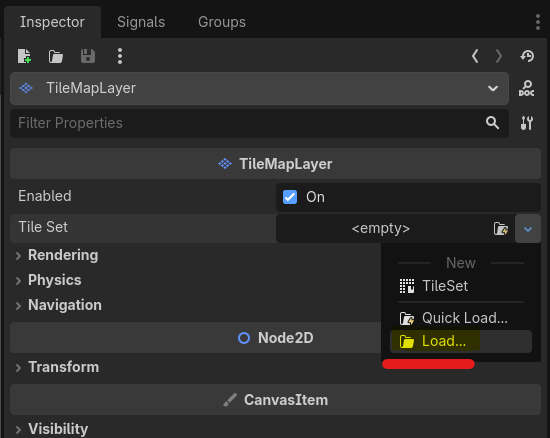
Open the SpriteCook folder and pick the exported .tres.
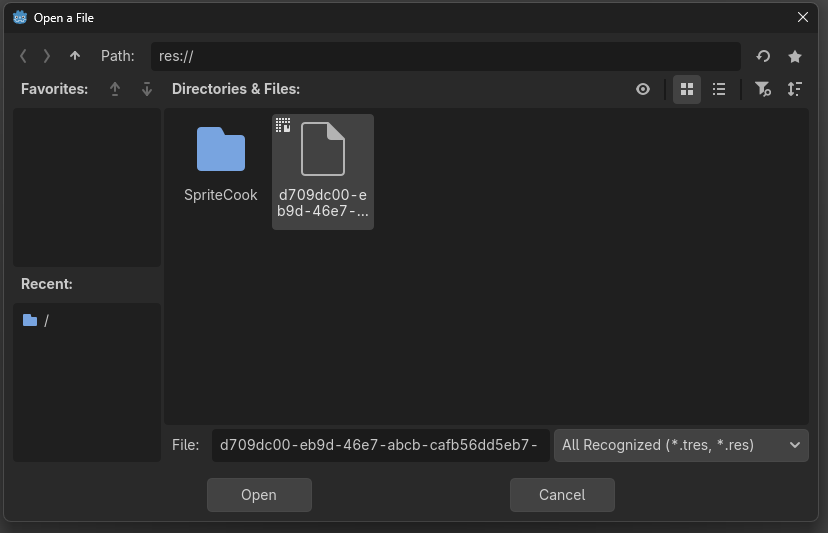
The .tres is what carries the terrain setup, so the layer has to use it as its Tile Set. Once it's loaded, the TileSet panel shows all your base tiles.
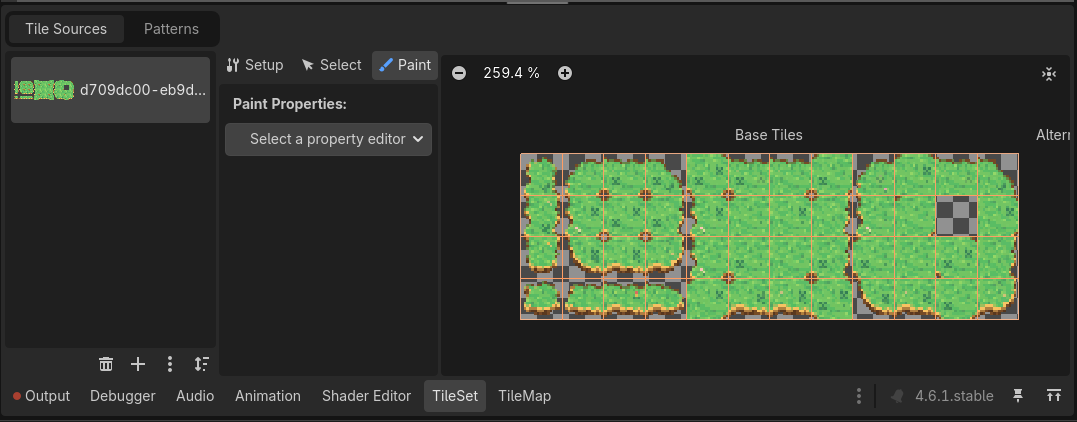
If you built a TileSet by hand earlier, swap it out for the exported one so the layer isn't still pointing at the old embedded set.
Paint with autotile
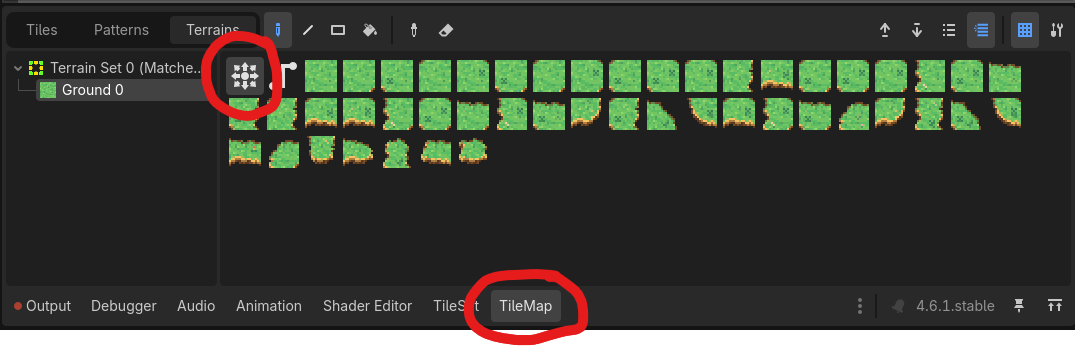
Open the TileMap panel at the bottom and switch to the Terrains tab. Select Terrain Set 0, then Ground 0, and turn on the connect terrain paint mode.
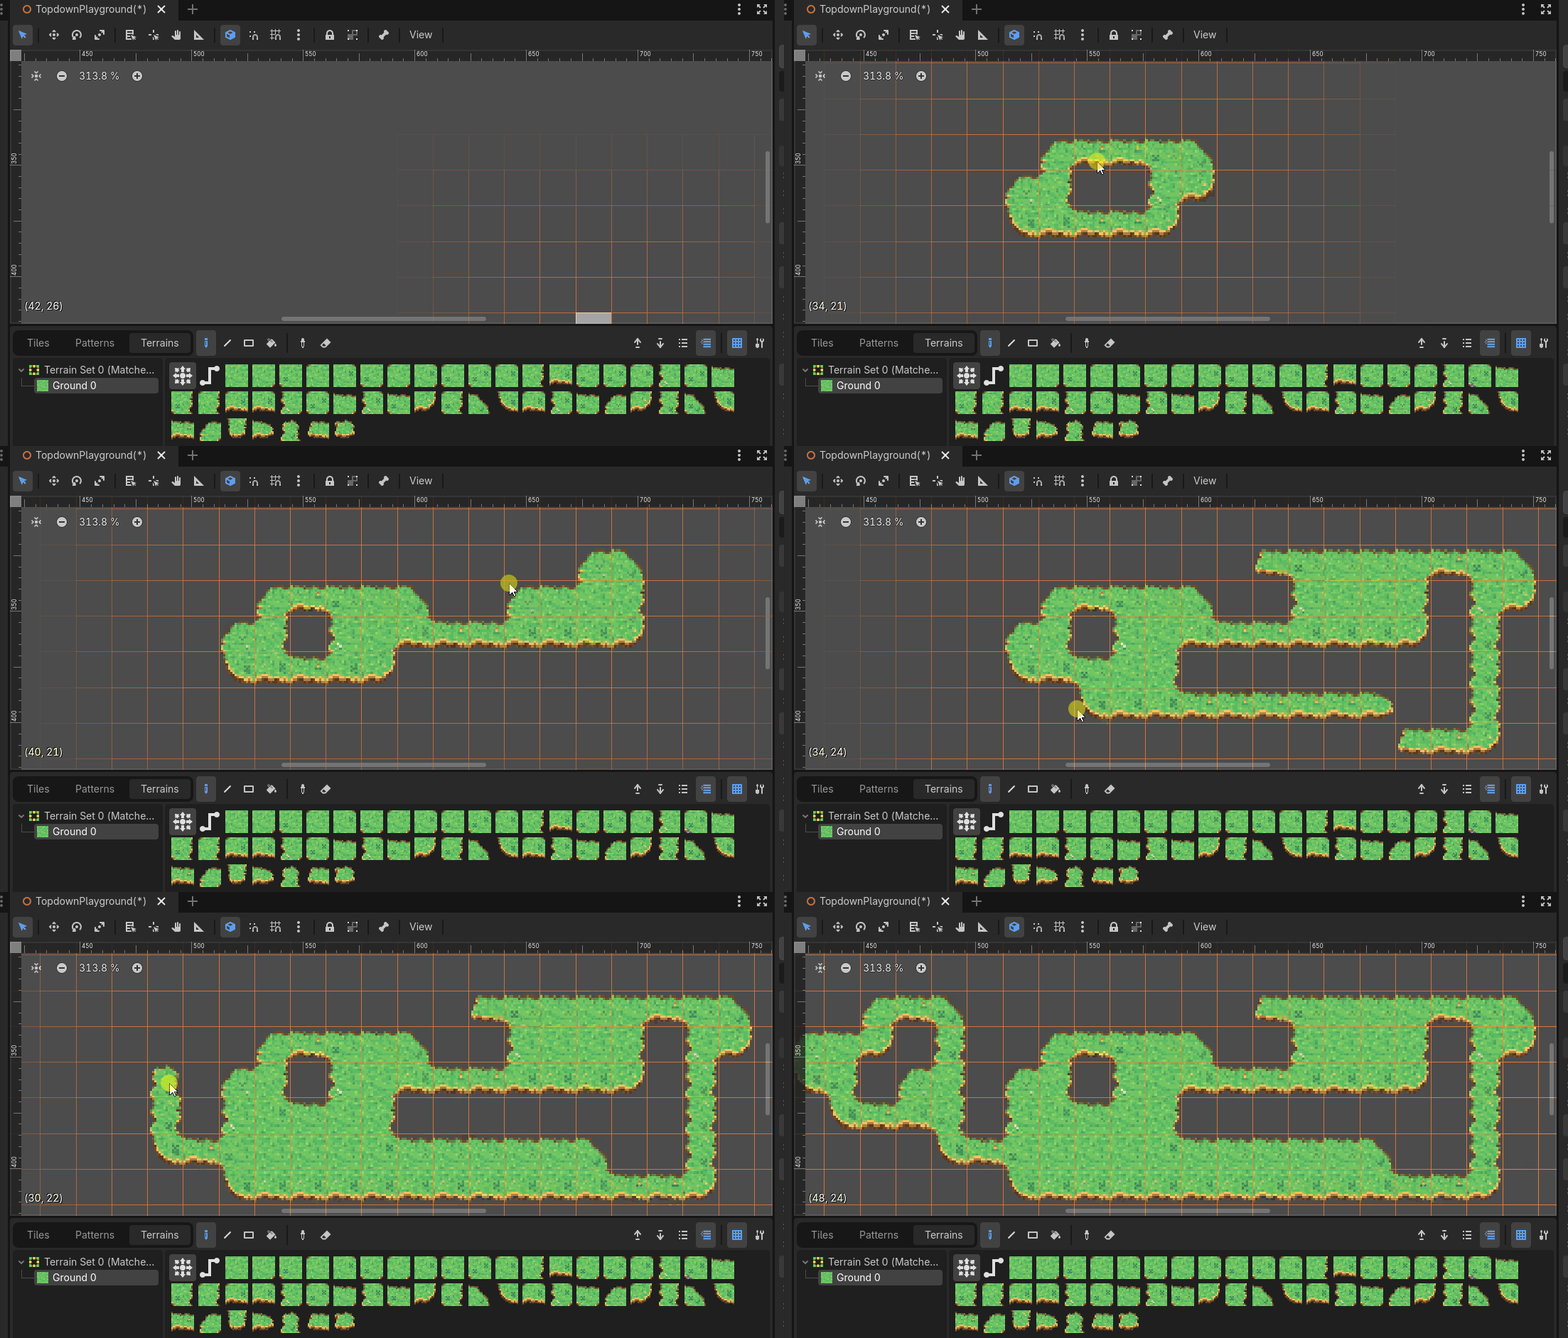
Now paint in the 2D viewport. Godot swaps in the right edge and corner pieces as you draw, so walls, gaps, and single-tile islands all resolve on their own.
Platformer 16-set layout
The platformer atlas is a 4x4 Match Sides terrain. Rows encode top/bottom connections and columns encode left/right connections. Row 3 is especially useful: it contains an isolated block followed by the left, middle, and right pieces for one-tile-high floating platforms. The complete row/column mapping is in the tileset documentation.
If something looks off
Ground 0shows in the Inspector but not in the Terrains panel. TheTileMapLayerdoesn't have the exported.tresloaded. Go back and load it onto the layer'sTile Set.- Tiles paint but the transitions are wrong. You're probably placing single tiles from the normal
Tilestab. Paint from theTerrainstab withGround 0instead.
Crisp pixels
If the tiles look soft in-engine, the Godot import notes cover the filtering settings that keep pixel art sharp.
Try it
Generate a tileset in /create, export the Godot file, and paint a map.