How to Generate Pixel Art Game Assets with AI
A quick walkthrough of generating pixel art characters, props, and icons from a text prompt, with the key settings that actually matter.
You write a short prompt, pick a few settings, and get back a game-ready sprite with a transparent background. Here's how that works in practice.
Step 1: Write your prompt
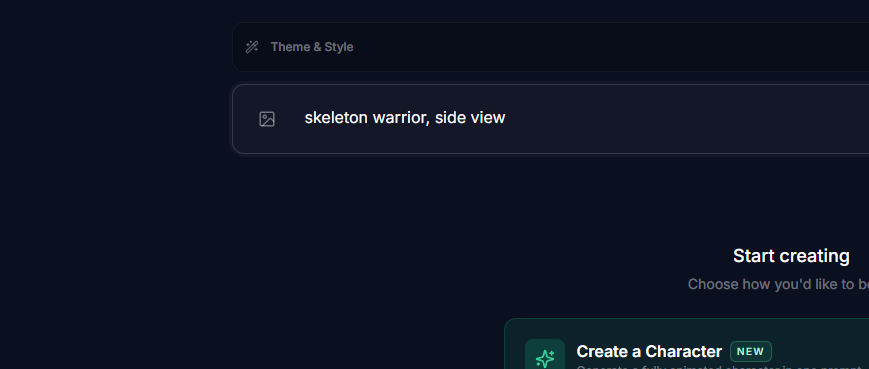
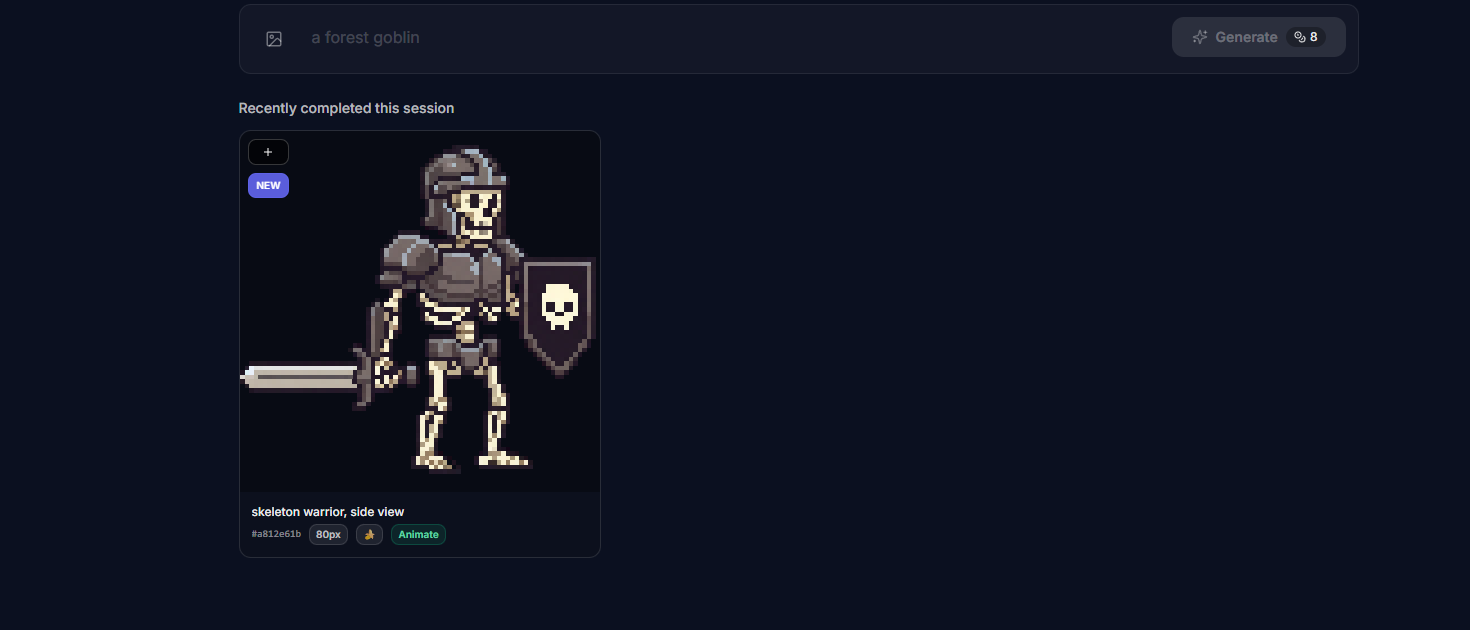
Head to /create and type what you want. Short prompts work fine.
- "a medieval sword"
- "small forest mushroom"
- "skeleton warrior, side view"
- "wooden treasure chest"
The more specific you are about the view angle and style, the closer the first result gets to what you need.
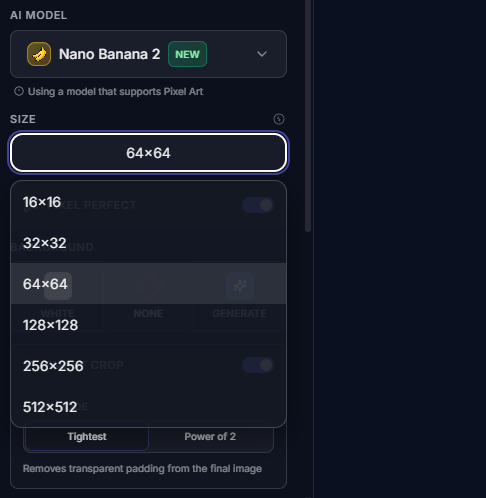
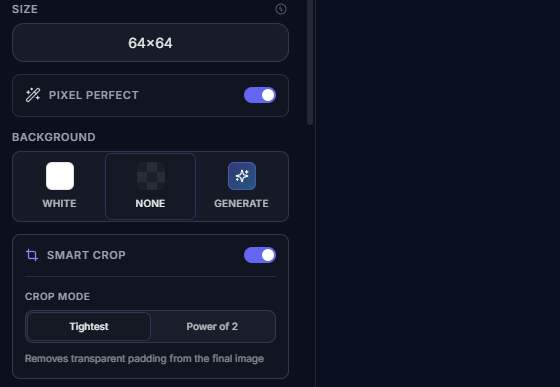
Step 2: Pick your base size
This is the resolution of the pixel grid. Common choices:
| Size | Good for |
|---|---|
| 16x16 | Small icons, inventory items |
| 32x32 | Characters, props, tiles |
| 64x64 | Larger characters, detailed props |
| 128x128 | Big sprites, bosses |
Smaller sizes give you tighter, more classic pixel art. Larger sizes allow more detail but start looking less "pixel-y." Pick whatever matches your game's art style.
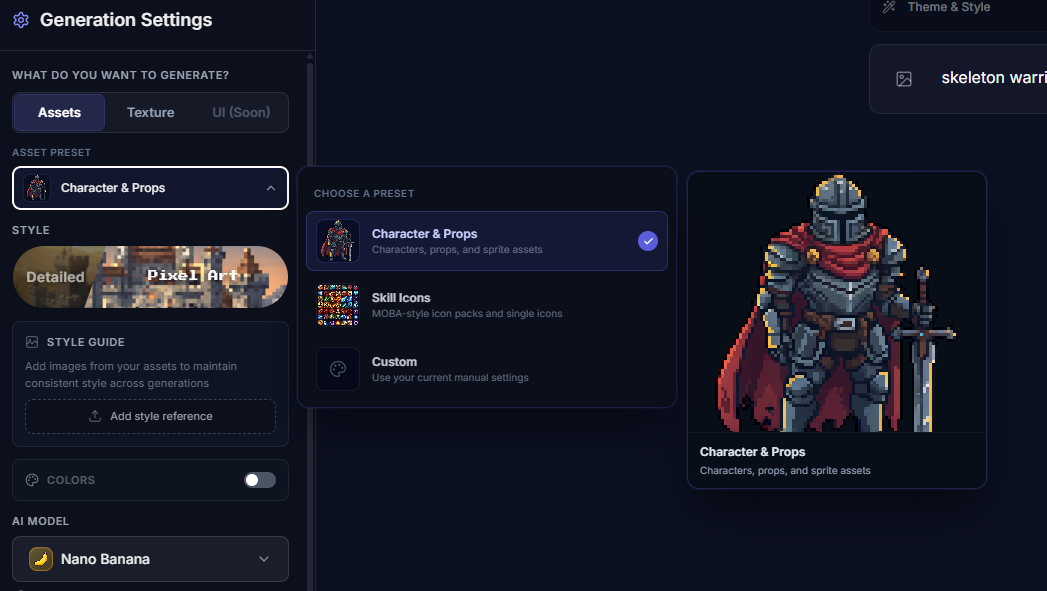
Step 3: Pick the right preset
The Assets tab has three presets that change how the prompt is handled:
- Character for anything alive (players, enemies, NPCs)
- Skill Icons for ability icons and item icons (can generate a whole pack at once)
- Custom for everything else (props, environment pieces, UI bits)
Step 4: Background mode
Three options here:
- Transparent removes the background so you get a clean sprite on alpha. This is what you want most of the time.
- White puts the sprite on a white background.
- Include keeps whatever background the model generates.
For game assets, transparent is almost always the right call.
Step 5: Hit generate
Click generate and wait a few seconds. You'll get your result on a grid where you can preview it at true pixel size.
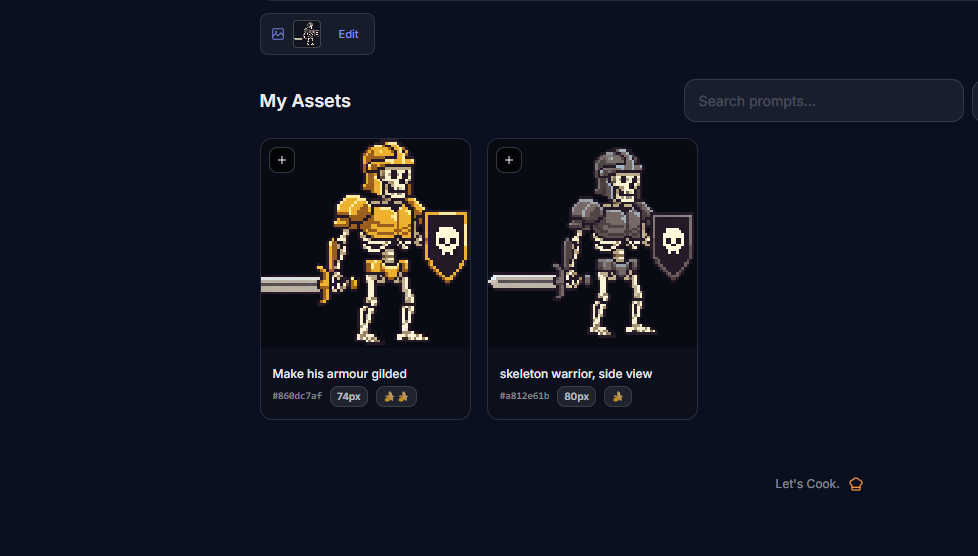
(Optional) Step 6: Use it as a reference for the next one
Got a result you like? Use it as a reference image for your next generation. The model will stay close to that look while you change the prompt.

Want a variation, or the same character with a different weapon? Reference the original and describe the change.
Settings worth knowing about
You don't need to touch all of these, but they're useful once you know they exist.
Pixel Perfect
Leave this on. It auto-detects the pixel grid in the AI output and snaps everything to clean edges. Without it, you can end up with sub-pixel noise that looks fine zoomed out but falls apart in-engine. If you want to understand the problem it solves, there's a deeper write-up on pixel grid detection.
Smart Crop
Automatically trims empty space around your sprite after generation. Two modes:
- Tightest crops to the exact bounding box of the sprite
- Power of 2 crops to the nearest power-of-two size (16, 32, 64, etc.), which is what most engines prefer
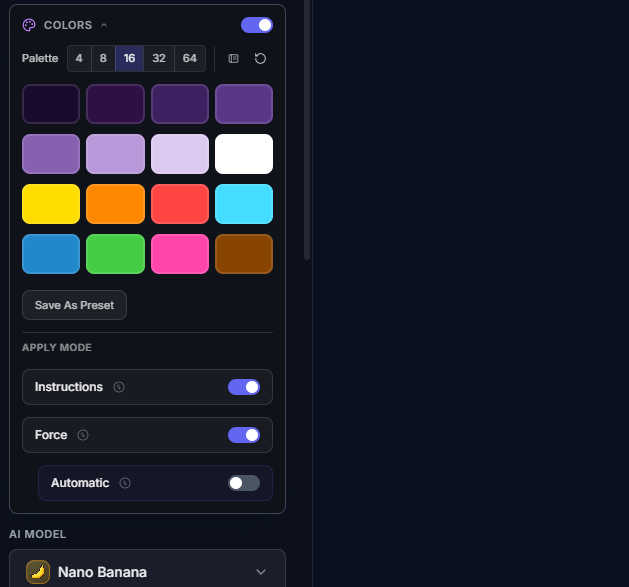
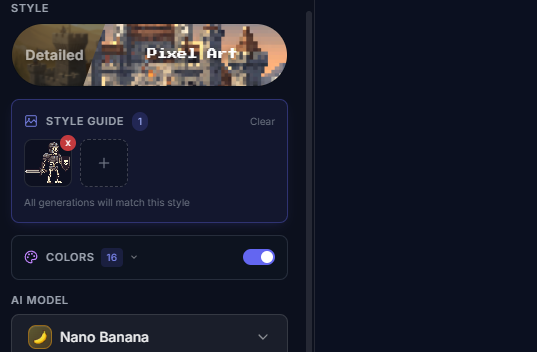
Color palette
You can lock the output to a specific palette and color count. Useful when you need all your assets to share the same 16 colors. You can also save palettes and reuse them across sessions.
Style references
If you already have a sprite you like the look of, you can add it as a style reference (up to 3). The model will try to match that visual style in the new output. Handy for keeping a consistent look across your asset set.
Aspect ratio
Not everything needs to be square. You can change the aspect ratio for wider or taller sprites, like a long sword or a tall tower.
Model selection
There are a few models to pick from. The default works well for most pixel art. The Pro model costs more credits but can handle more complex prompts and compositions.
A few tips
- Mention the view angle. "Side view," "front view," or "top-down" in your prompt makes a big difference. Without it the model picks whatever angle it feels like.
- Start small, iterate. Generate one variation first. If the style is right, bump up to 4 variations. If it's off, adjust the prompt before burning more credits.
- Use style references early. Once you have one sprite you like, add it as a style reference for everything else. Consistency across assets is hard to get from prompts alone.
- Match your game's resolution. If your game runs on a 16px grid, generate at 16x16. Scaling down later works, but starting at the right size is cleaner.
What about animation?
This page handles static assets. If you want to take any sprite you've made here and turn it into an animated spritesheet, check out how to animate custom sprites or the character creator flow for full character animation sets.
Stuck on something?
If you're not getting the results you want, or you're unsure which settings to use for your specific game, come ask in the SpriteCook Discord. People share prompts, results, and help each other dial things in.