Wang tiles for pixel art, explained
One repeated tile always shows a grid. Wang tiles fix it with 16 tiles whose edges match. How they work, how to place them, and how to cut them from a texture.
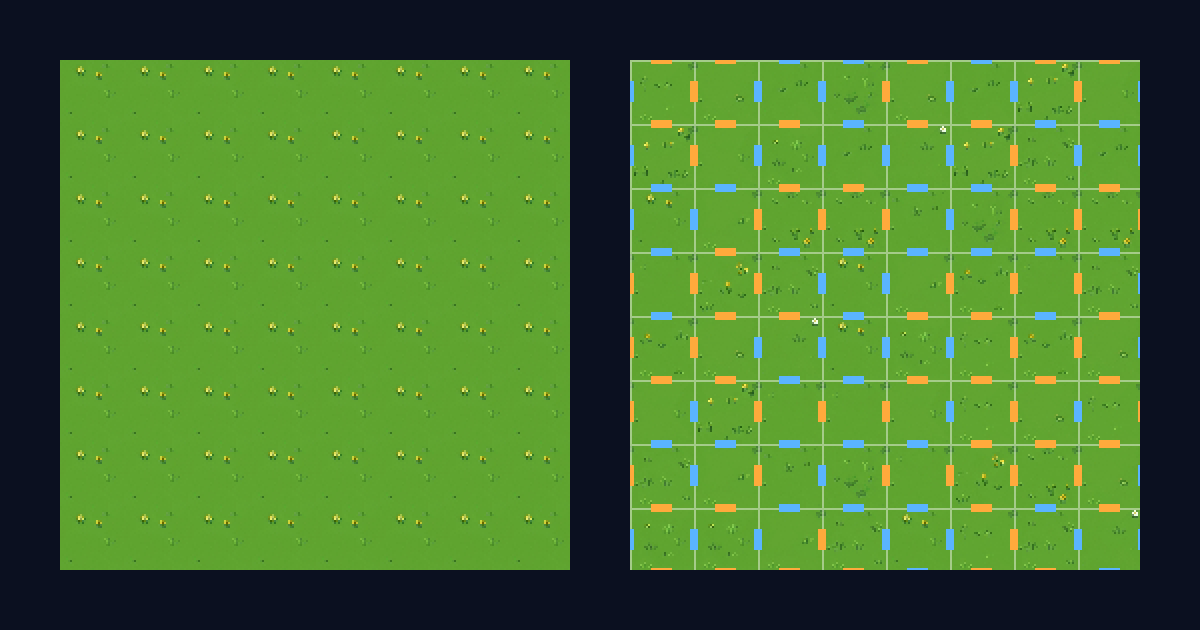
Repeat one seamless grass tile across a map and the grid shows, however good the tile is. Wang tiles fix that with 16 tiles instead of one. Every tile edge has one of two colors, tiles only meet where their colors match, and a map built from random edge colors has no repeating pattern.
Both sides use the same grass and the same 32 px tiles. The left side repeats one tile of the set. The right side uses all 16, and halfway through the loop it shows its grid. It's an ordinary grid of tiles, and every edge joins.
The name comes from the mathematician Hao Wang, who studied edge-matched squares in the 1960s. Graphics and game developers later picked the idea up for textures and procedural maps.
Why one tile always shows a grid
A seamless tile only hides its seams. Every flower and tuft sits in the same spot in every cell, exactly one tile apart, and the eye joins them into rows and columns. A bigger tile spreads that lattice out, but it's still there.
Random variants help less than you'd expect. If any variant can sit next to any other, they all need the same pixels along their edges, and that shared strip repeats along every tile edge in the map. Wang tiles get around this by having two kinds of edge in each direction instead of one.
How edge Wang tiles work
- Every edge in the map gets a color, 0 or 1. Horizontal edges (the tops and bottoms of tiles) and vertical edges (the sides) each have their own pair.
- A tile is defined by its four edge colors. Two options on four edges gives 2 x 2 x 2 x 2 = 16 tiles.
- Two tiles can only touch when their shared edge has the same color, and same color means both sides were cut from the same patch of texture, so the seam doesn't show.
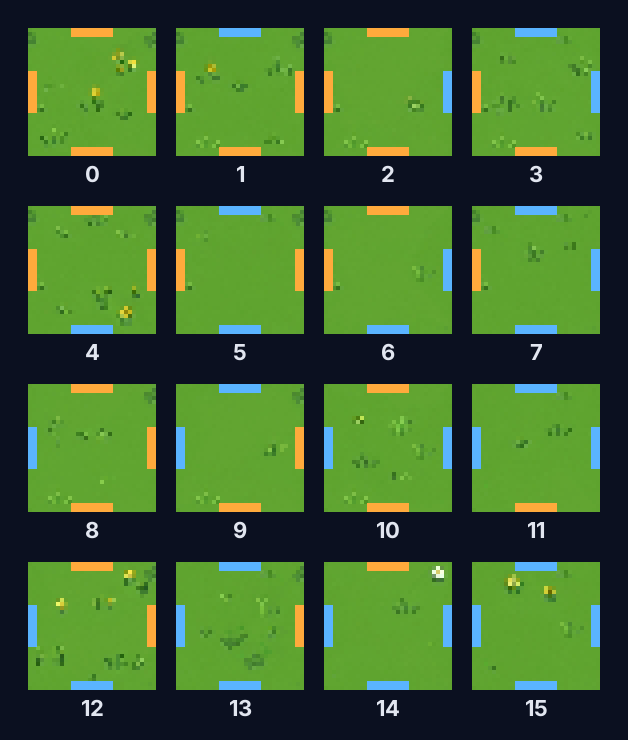
Orange is color 0 and blue is color 1, in both directions. A top/bottom 0 and a left/right 0 are different edges that happen to share a color in the drawings. The number under each tile is its index, and it comes straight from the four colors, as the next section shows.
Because the set has all 16 combinations, there's always exactly one tile that fits. You never search, backtrack, or fall back to a default.
Placing them
Color the edges first and the tiles follow. Give every edge in the map a random 0 or 1, then each cell takes the tile that matches its four edges:
// One random color per edge. Colors live on the edges, not the cells.
const coin = () => (Math.random() < 0.5 ? 0 : 1)
const hEdges = Array.from({ length: rows + 1 }, () => Array.from({ length: cols }, coin)) // top edge of each cell
const vEdges = Array.from({ length: rows }, () => Array.from({ length: cols + 1 }, coin)) // left edge of each cell

function wangTile(row: number, col: number) {
  const top = hEdges[row][col]
  const bottom = hEdges[row + 1][col]
  const left = vEdges[row][col]
  const right = vEdges[row][col + 1]
  return top + 2 * right + 4 * bottom + 8 * left // 0 to 15
}

const tile = wangTile(row, col)
const atlasColumn = tile % 4
const atlasRow = Math.floor(tile / 4)
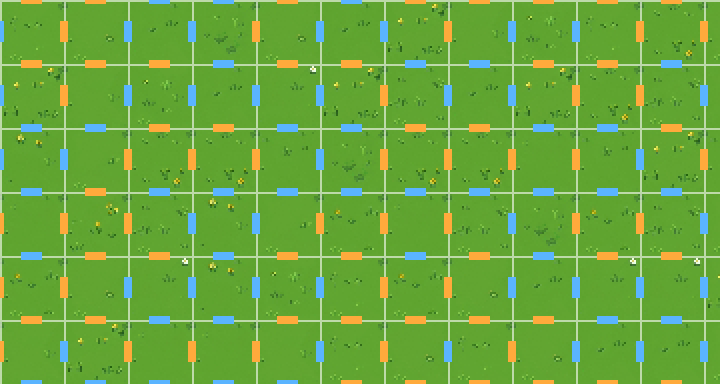
Here's the map from the video with its grid and edge colors drawn on. Each tile draws its own bars, so every edge shows two bars of the same color, one from each side:
A few practical notes:
- Looping maps. Make both edge arrays
rowsxcolsand wrap the index for the last row and column (hEdges[(row + 1) % rows][col],vEdges[row][(col + 1) % cols]). The map then wraps without a seam. The video loops that way, on a 12 x 12 map. - Infinite or chunked worlds. Compute each edge color from a hash of its position and your world seed instead of storing it. Neighboring chunks then agree on the edges between them without talking to each other.
- In Godot, the index maps straight to atlas coordinates:
layer.set_cell(Vector2i(col, row), source_id, Vector2i(tile % 4, tile / 4))on a TileMapLayer. In Unity, keep the 16 tiles in an array and calltilemap.SetTile(new Vector3Int(col, -row, 0), wangTiles[tile]), since Unity's y axis points up.
Cutting 16 tiles from one texture
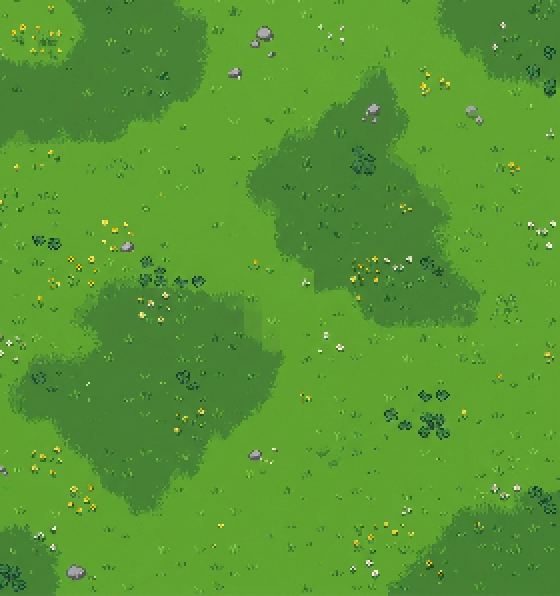
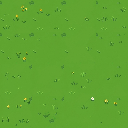
You can draw 16 tiles by hand, but they're easy to cut from one texture. This set comes from a single pixel art meadow generated with SpriteCook, 280 x 298 px:
- Pick one spot per edge color. Two spots for the top/bottom colors and two for the left/right colors.
- Cut the edge strips from those spots. A tile's top strip comes from its top color's spot, starting at that spot's row. The tile above cuts its bottom strip from the same spot, ending right above that row. So two neighbors continue the same patch of grass across the edge they share. Left and right work the same way.
- Give every tile its own middle. Each of the 16 middles comes from a different spot in the texture, which is where the variety comes from.
- Stitch along the grass. Each edge strip is joined to the middle along the path with the smallest color difference, inside that edge's triangle of the tile. This is the minimum error boundary cut from image quilting (Efros and Freeman, 2001). The joins follow the grass instead of running in straight lines.
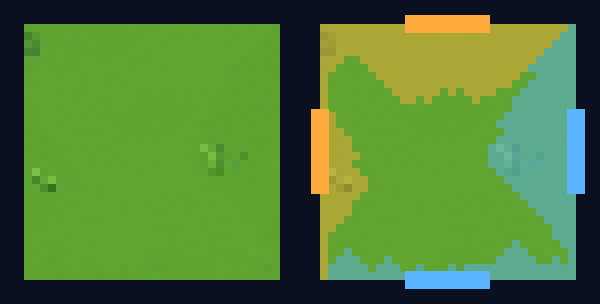
That's tile 6: top 0, right 1, bottom 1, left 0, so 0 + 2 + 4 + 0. On the right, the edge pieces are tinted by color and the untinted middle is the tile's own patch. The ragged borders are the cuts.
The whole cutter is a short Python script with numpy. If you want to skip it, here are the 16 tiles from this post: wang-grass-tiles-32px.png (128 x 128, 32 px tiles, in index order like the sheet above).
Common pitfalls
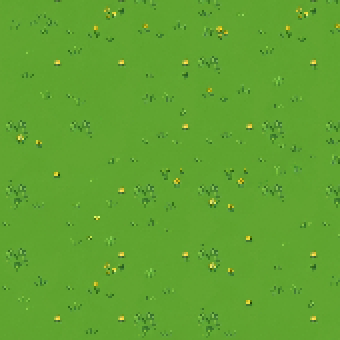
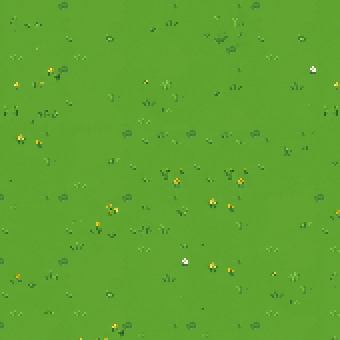
Detail in an edge strip makes a new grid. Each edge strip lands on about half the edges in its direction, so a flower in it repeats at regular steps all over the map. Cut the edge strips from the plainest part of the texture. Here's the same set cut both ways:
One loud feature in a middle repeats too. A rock or a dark clump in a tile shows up wherever that tile lands, about once every 16 cells. Keep tiles to the even base material and place rocks and bushes as separate decorations.
Big shapes don't fit in a tile. The darker patches in this meadow are wider than 32 px, so a tile can't hold one without cutting it off. This set only samples the light grass. Paint large patches as their own terrain with a transition tileset.
Two colors is usually enough. Three colors per direction gives 3^4 = 81 tiles. That's more variety, and a lot more tiles to check.
Wang tiles and autotiles
Edge Wang tiles add variety inside one terrain. Autotile sets do a different job. They draw the transitions where one terrain meets another. A 15-piece tileset uses the same 16-case math, on corners instead of edges, and the dual-grid post walks through it.
The two work together. Use the autotile set where grass meets dirt or water, and fill the solid interior with Wang tiles so the big open areas don't show a grid.
Where to next
- Dual-grid tilesets, explained, the corner-based cousin of this post
- The 15-piece autotile, explained, for terrain transitions
- Generate a tileset from one prompt, with Godot, Unity, and Tiled exports
- Generate seamless textures to cut your own Wang set from