Sprite Stack Generator
Free · No signup · Runs in your browser
Drop or paste your own views anywhere on the tool. They stay on your device.
How to make a sprite stack
- 01
Make four flat views
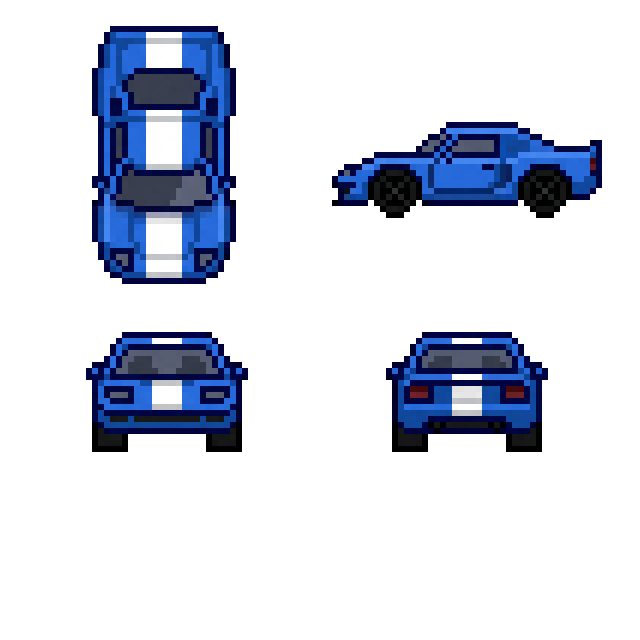
Top, side, front and back on one image, same scale in each. Generate them with SpriteCook or draw them yourself.
- 02
Drop them in the tool
It finds each view, cuts one slice per row of the side view and stacks them. Turn and tilt it until it looks right.
- 03
Download for your game
Take the slices to draw the stack in code, or a sheet with 8, 16 or 32 directions that works like any sprite.
How sprite stacking works
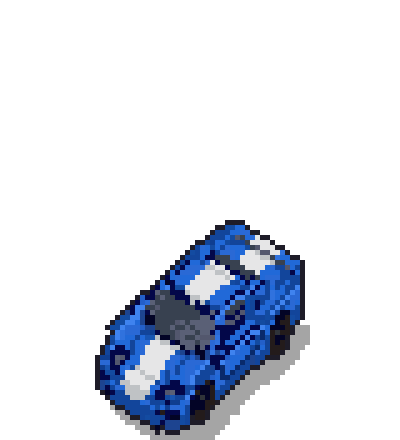
Each slice is a top-down picture of one layer of the object: the bottoms of the wheels, then the body, the windows, the roof. Draw the ground slice first and every next slice 1 pixel higher. Pulled apart you can see the layers. At 1 pixel apart they read as one solid car.
To turn it, rotate every slice by the same angle and lift it again. One small sheet covers every angle, and the pixels stay crisp because nothing gets painted in between.
The full guide, with Python and Godot code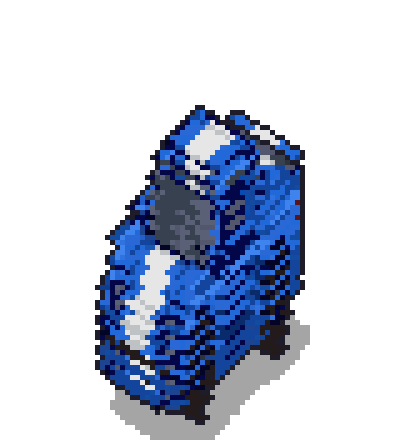
Generate the views with SpriteCook
Drawing four matching views by hand is the slow part. This prompt asks for the layout the tool expects. Pick Nano Banana Pro with pixel art on, set the size to 32 and swap the car for your own object. Keep the layout sentences as they are.
Orthographic model sheet of one small blue 90s sports race car with a white center stripe, low and wide, dark windows, black tires, four views in a 2x2 grid. Top-left: TOP view looking straight down at the roof, car pointing DOWN. Top-right: SIDE view, car pointing LEFT. Bottom-left: FRONT view. Bottom-right: BACK view. Strictly orthographic, no perspective, no tilt, no three-quarter angle. Same scale in every view so length, width and height match between views. Crisp clean pixel art with a 1 px dark outline around each view, solid flat color fills, simple shading, no soft edges, no shadows, no ground, no text, no labels, no grid lines, generous empty space between views. Low-resolution chunky pixel art, each view about 32 pixels.
Look at the sheet before you stack it. A bold 1 px outline and flat fills stay crisp when the slices turn; soft edges smear. For round things, ask for a top view and one side view.
Open SpriteCookUse it in your engine
Two ways in. The slices give you every angle and a camera you can change in the game. The direction sheet needs no special code at all.
Draw the slices (Godot 4)
Put the slice sheet in sheet. For a car moving with velocity, set turn = velocity.angle() - PI / 2.
extends Node2D## Sprite stacking: draws a row of flat slices on top of each other so they look like one 3D object.## The sheet is one row of slices, the ground slice on the left. Keep the node on whole pixels.@export var sheet: Texture2D@export var slices := 15 ## how many slices the sheet holds@export var turn := 0.0 ## radians; 0 draws the slices as they are in the sheet@export_range(0.1, 1.0) var squash := 0.75 ## 1 looks straight down; lower is a lower camera@export var spacing := 1.0 ## screen px between one slice and the nextfunc _process(_delta: float) -> void:queue_redraw()func _draw() -> void:if sheet == null:returnvar w := float(sheet.get_width()) / slicesvar h := float(sheet.get_height())var rect := Rect2(-floorf(w / 2.0), -floorf(h / 2.0), w, h)var spin := Transform2D(turn, Vector2.ZERO)for z in slices:# turn the slice on the ground, flatten it for the camera, then lift it z slices upvar lift := Transform2D(Vector2(1, 0), Vector2(0, squash), Vector2(0, -roundf(z * spacing)))draw_set_transform_matrix(lift * spin)draw_texture_rect_region(sheet, rect, Rect2(z * w, 0, w, h))
Use the direction sheet (any engine)
Load it like any sprite sheet with 8 frames per row and pick the frame from the angle the object faces. Turn the outline off in the tool if your game adds its own.
extends Sprite2D## Shows the frame of a direction sheet that faces the way the object moves.## Frame 0 faces right, then each frame turns clockwise, 8 frames per row.@export var directions := 16func _ready() -> void:hframes = mini(directions, 8)vframes = ceili(directions / 8.0)func face(angle: float) -> void:# angle in radians, for example velocity.angle()frame = posmod(roundi(angle / TAU * directions), directions)
More free pixel art tools
Pixel art background remover
Clear a flat background on whole pixels before you stack your views.
Sprite sheet slicer
Split a direction sheet into frames, or pack frames into one sheet.
Pixel art outline generator
Add an outline in any color and thickness to a sprite or a whole sheet.
Top-down game assets
Generate cars, props and tiles for a top-down game to stack and place.